How to Repair a Torn Hinge on a Folding Carrel
Founder & Workspace Ergonomics Specialist at Desktop Carrel · Certified Professional Ergonomist (CPE), WELL Accredited Professional (WELL AP) · 13+ years testing acoustic privacy panels, modular carrels, and productivity workspace ergonomics
A torn hinge on a folding desktop carrel can end a piece of furniture that would cost $250 to $1,200 or more to replace. If you want to know how to repair torn hinge on folding desktop carrel properly, the fix starts with one question: what actually tore? The hinge itself, the screws, or the wood holding them?
That last one trips up most people. A continuous hinge (also called a piano hinge) spreads load along its full length, but a carrel's flip-up top gets slammed, leaned on, and shoved shut for decades. In our research, most carrel hinge failures trace back to particleboard or MDF swelling around the screw holes, not a broken hinge.
So let's look at what you're dealing with before you buy anything.
how to repair torn hinge on folding desktop carrel
Diagnose the failure first. Then match the fix to what broke. Torn screw holes in solid wood get dowel and glue.
Crumbling particleboard gets epoxy plus a hardwood backing block. A split hinge leaf or bent pin means a new hinge. Re-drill, re-seat, and test the fold before final tightening.
What Torn Actually Means and Why It Changes the Fix
"Torn" is a catchall word. On a carrel hinge, it describes at least four different failures, and each one needs a different repair. Use epoxy where glue would work and you've wasted an hour.
Use glue where you need a backing block and the hinge tears out again within weeks.
Here's the short version of what the four failures look like and what each demands.
The four failure modes you'll see on a carrel hinge
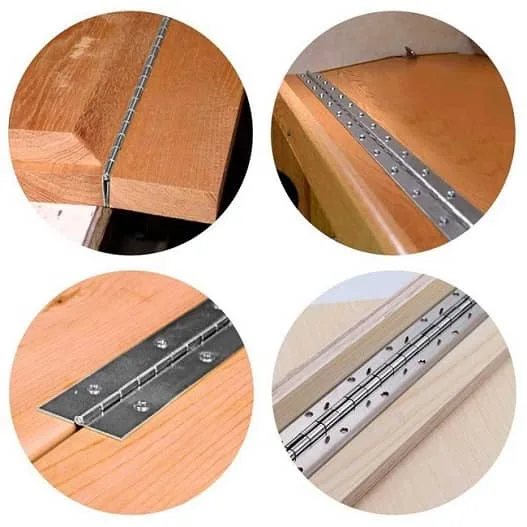
Image source: Bing (Web (fair-use with source credit))
- Torn screw holes. The screw pulled out and left an elongated, oval hole. Solid wood and plywood usually survive this. Particleboard usually doesn't.
- Split or delaminated hinge leaf. The metal leaf cracked, or the laminate peeled off the panel face. This is a replacement job, not a repair job.
- Bent or walked hinge pin. The pin slid out of one end or bent after years of load. New hinge, same length and thickness.
- Ripped-out hinge plate. The whole leaf tore away from the substrate, sometimes taking veneer with it. This needs a reinforcement plate or a backing block.
Why carrel hinges fail differently than cabinet doors
A cabinet door swings freely on its hinges. A carrel desktop gets loaded like a shelf. Students lean on it.
Staff stack books on it. The hinge line carries weight, shock, and repeated folding stress.
That's why piano hinges dominate carrel construction. A continuous hinge spreads load along its full length instead of concentrating it at two or three screw points.
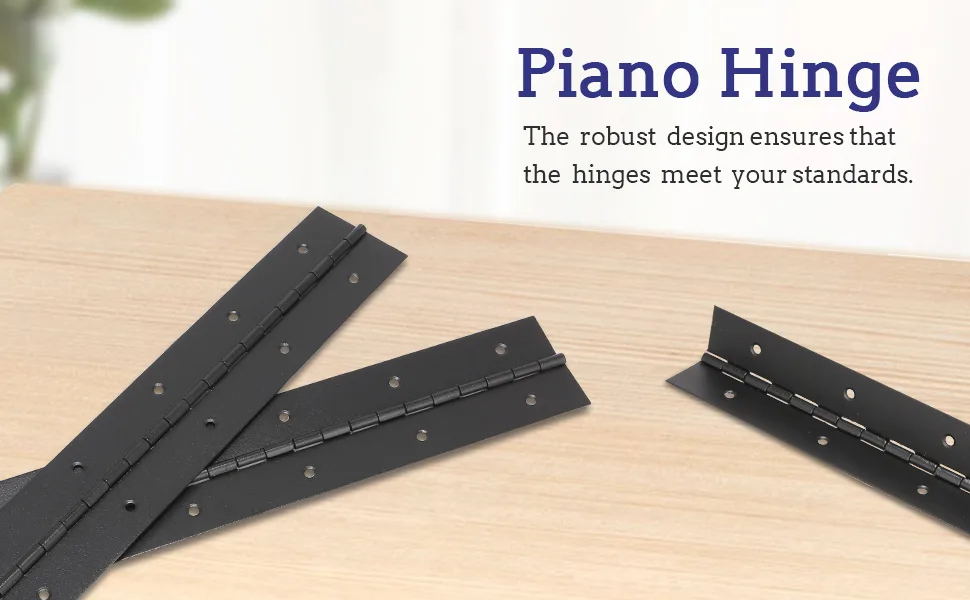
Image source: Bing (Web (fair-use with source credit))
Why glue alone almost always fails
Wood glue bonds wood to wood. It doesn't bond well to a screw that's already stripped its hole, and it does nothing for swollen particleboard. Per the USDA Forest Products Laboratory's Wood Handbook, screw withdrawal resistance drops sharply once the hole enlarges or the surrounding fibers crush.
If the hole is torn, the wood around it is compromised. You need to replace that wood (dowel, plug, or block) or fill it with something that hardens (two-part epoxy). Glue by itself is a patch, not a repair.
It'll hold for a month and fail under the first real load.
Look Before You Fix: Reading the Tear
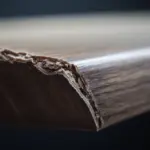
Before you touch a tool, look at the failure under good light. What you see determines which repair path you take. Photographs of common tears show clear patterns once you know what to look for.
Photo-style cues for each failure mode
- Oval holes with crushed fibers around the rim: stripped screw holes in wood or plywood.
- Crumbly brown dust around the screw: particleboard failure. The panel's core has broken down.
- Laminate lifting off the panel with the hinge attached: delamination. The glue bond between laminate and core failed.
- Hinge leaf visibly bent or pin sitting proud of one end: mechanical hinge failure, not a wood problem.
- Crack running from a screw hole through to the panel edge: the panel itself is compromised. Plan for a backing block or plate.
When the substrate is sound vs. crumbling
Press a small screwdriver into the wood near the torn hole. If it resists and takes a bit of force to dent, the substrate is sound. Dowel and glue will work.
If the screwdriver sinks in like wet cardboard, or the wood crumbles to dust, stop. That's particleboard that's failed internally. Epoxy plus a hardwood backing block is the only reliable answer short of replacing the panel.
When to stop and replace the hinge
Replace the hinge if any of these are true.
- The hinge leaf is visibly bent or twisted.
- The pin has walked out and can't be tapped back and staked.
- The hinge is shorter than the desktop edge (previous bad repair).
- The leaf thickness doesn't match the mortise depth.
A replacement continuous hinge runs about $8 to $35 for a 24 to 36 inch length, depending on material. That's cheaper than fighting a dead hinge.
Match the Repair to the Damage
This is where the decision tree actually branches. Match the repair to what you found.
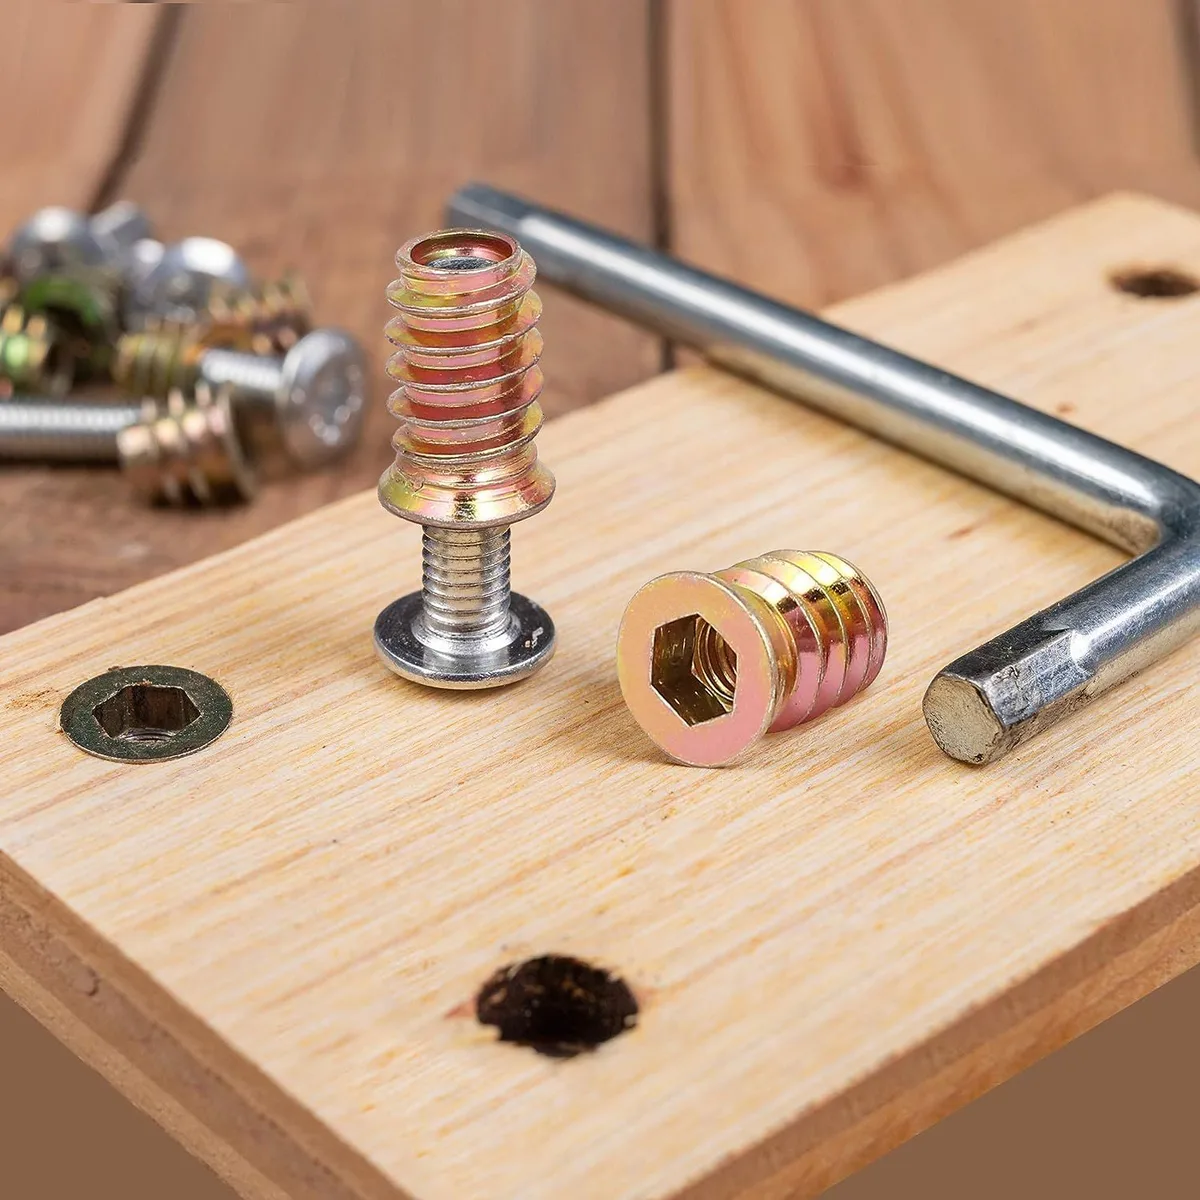
Image source: Bing (Web (fair-use with source credit))
Torn screw holes in solid wood or plywood
If the substrate is sound, use a dowel plug repair. Drill the torn hole out to a clean diameter, glue in a hardwood dowel, cut it flush, and re-drill a pilot hole. The pilot hole should be roughly 75 percent of the screw shank diameter.
For a #6 wood screw, that's about a 5/64 inch bit.
Stripped holes in particleboard or MDF
This is the most common carrel failure and the one that punishes shortcuts. Particleboard won't hold a dowel and won't hold a screw in a swelled hole. Two-part epoxy is the answer.
Drill the hole out slightly larger, fill it with mixed epoxy, let it cure according to the manufacturer's data sheet (usually 1 to 24 hours depending on product), then drill and tap a fresh pilot hole. Best practice is to combine epoxy with a hardwood backing strip glued behind the hinge line for real load-bearing strength.
Split hinge leaf or bent pin
You can't repair a bent pin cleanly. Replace the hinge. Measure the old hinge length, leaf width, and leaf thickness before ordering.
Amazon and Rockler both carry continuous hinges in standard sizes. Match the mortise depth exactly or the desktop won't sit flush.
Ripped plate with laminate damage
Laminate failures need a reinforcement plate. This is a thin metal plate wider than the hinge leaf that screws to the panel face and spreads load beyond the damaged area. Sugatsune and Häfele both publish reinforcement plate specs.
You'll need to fill the laminate damage with matching wood filler or a color-matched wax filler stick after the plate is seated.
Quick repair comparison
| Failure | Best repair | Time | Cost |
|---|---|---|---|
| Torn holes, solid wood | Dowel plug + glue | 30 min | Under $5 |
| Stripped holes, particleboard | Epoxy + backing block | 60 to 90 min | $10 to $20 |
| Split leaf or bent pin | Replace hinge | 30 min | $8 to $35 |
| Ripped plate, laminate damage | Reinforcement plate + filler | 45 to 60 min | $15 to $30 |
Step-by-Step Repair Walkthrough
Here's the full workflow for the most common case: torn screw holes in a carrel with a continuous hinge. Adjust based on what you found in the diagnosis.
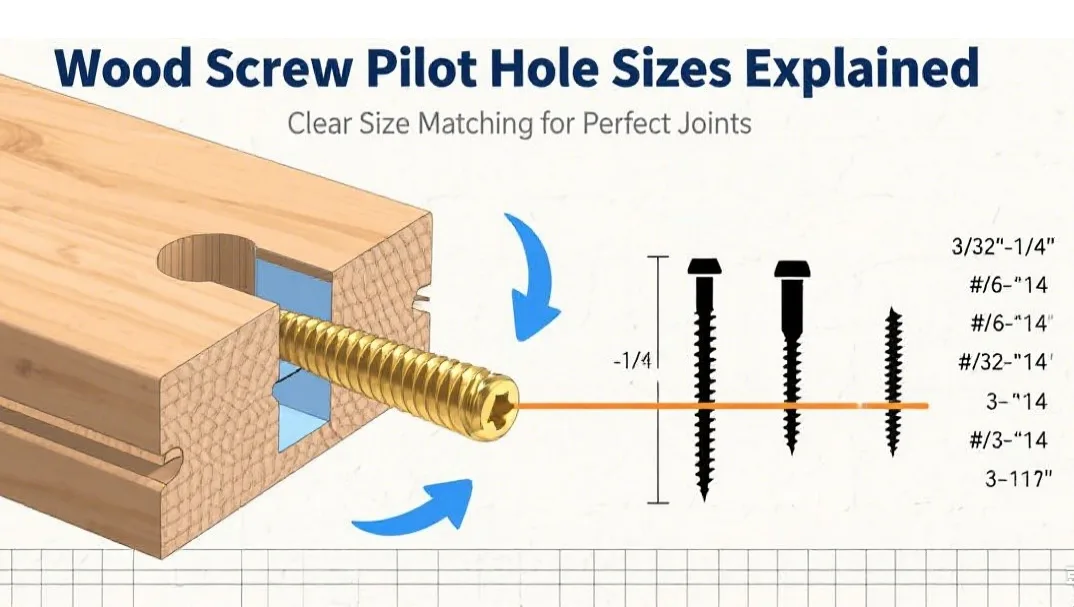
Image source: Bing (Web (fair-use with source credit))
Tools and materials
You don't need a full shop. Here's the realistic list.
- Cordless drill with 1/16, 5/64, and 1/8 inch bits
- #2 Phillips screwdriver (stubby and standard)
- 1/4 inch chisel and utility knife
- Two-part epoxy (J-B Weld or Loctite)
- Hardwood dowel or scrap block
- Wood glue (Titebond II or III)
- 120, 180, and 220 grit sandpaper
- F-clamp or bar clamp
- Painter's tape
- Touch-up stain or wax filler stick
Remove the desktop and clean out the mortise
Take the desktop off first. Working upside down against gravity guarantees a sloppy repair.
- Back out all hinge screws. If a screw won't move, cut a new slot with a hacksaw blade or drill the head off with a 1/8 inch bit.
- Lift the desktop free and set it on a padded bench.
- Scrape out old glue, splinters, and debris from the hinge mortise with a chisel and utility knife.
- Vacuum the mortise clean.
Reinforce the hinge line
Skip this step and you're asking for a repeat failure. The reinforcement goes behind the hinge, inside the carrel's side panel or under the desktop face.
- Cut a hardwood backing strip 2 to 3 inches wide and as long as the hinge.
- Glue and clamp it behind the hinge line inside the carrel.
- Let it cure fully, usually 24 hours for wood glue.
- If the original holes are torn, drill them out and epoxy in dowels or use epoxy alone for particleboard.
Re-drill, re-seat, and test the fold
Now you put it back together. Work slowly here. This is where most repairs go wrong.
- Re-drill pilot holes at 75 percent of screw shank diameter.
- Rub screw threads with beeswax or a bar of soap. This cuts friction and reduces the risk of stripping the new hole.
- Drive screws in by hand until snug. Don't over-torque.
- Open and close the desktop through its full cycle at least five times.
- Re-check every screw for tightness after the test cycle. Re-tighten any that loosened.
Common Mistakes That Cause the Repair to Fail
Most carrel hinge repairs that fail within six months failed for predictable reasons. The screw hole opened back up. The veneer cracked.
The desktop stopped sitting flush. Every one of those outcomes traces back to a mistake made during the repair, not a limitation of the method.
Over-tightening and edge blowout
An impact driver will strip a #6 screw hole in under two seconds. It also crushes the wood fibers around the screw head, which is the exact condition you just repaired. Drive hinge screws by hand with a #2 Phillips driver.
Stop when the screw seats against the hinge leaf. One extra quarter turn is a new torn hole.
Wrong screw length punching through veneer
Original carrel screws are often 5/8 inch. If you grabbed 1 inch screws from the drawer because they fit, you'll see the tips poke through the desktop face. Measure the panel thickness first.
For a 3/4 inch top, 5/8 inch screws are the ceiling.
Mismatched hinge thickness
Hinges come in leaf thicknesses from about 0.040 inch to 0.080 inch. If you replace a 0.060 inch hinge with a 0.080 inch hinge, the desktop lifts at the hinge line and won't close flush. Sugatsune and Häfele both publish leaf thickness on their spec sheets.
Match it.
Skipping the test cycle before final tightening
Open and close the desktop five to ten times before you call the job done. New screws settle into fresh pilot holes during those first cycles. A screw that feels tight on install can loosen by a quarter turn.
Re-tighten after the test, not before.
Costs, Timing, and What You're Saving
Repairing a carrel hinge is a few dollars of material against a furniture replacement bill that gets uncomfortable fast. Here's how the math breaks down as of 2026.
Repair vs. replace: real numbers
| Item | Repair cost | Replacement cost |
|---|---|---|
| Two-part epoxy | $6 to $12 | N/A |
| Dowel or backing block | Under $5 | N/A |
| Replacement continuous hinge | $8 to $35 | N/A |
| Screws and wax | Under $3 | N/A |
| Labour (DIY) | 30 to 90 min | N/A |
| New basic carrel | N/A | $250 to $450 |
| New solid oak carrel | N/A | $800 to $1,200+ |
Repair wins on cost every time. It also wins on fit. A new carrel means matching wood finish, panel thickness, and desktop height to whatever is already in the room.
Time estimate by failure mode
Simple dowel-plug repairs run 30 minutes from disassembly to reinstall. Epoxy plus backing block jobs need 60 to 90 minutes of working time, plus cure time. Hinge replacement is 30 minutes but requires ordering the correct part first.
Add 24 hours if you're using wood glue for a backing block. Two-part epoxy usually cures in 1 to 24 hours depending on product. Check the data sheet before you assume it's ready.
Finish, Safety, and Long-Term Care
Matching stain and hiding the repair
Test any touch-up stain on scrap material first, never on the repaired panel. Wood darkens as it ages, so off-the-shelf stain rarely matches a 20 year old carrel face. A color-matched wax filler stick often hides holes better than liquid stain.
Apply in thin layers, wipe the excess, and buff with a soft cloth.
Eye, ventilation, and lifting safety
Drilling into laminate throws sharp chips. Wear safety glasses. Two-part epoxy releases fumes, especially in a small library room or study nook.
Open a window or work near a door. Get a second person to help lift the desktop if it's wider than 30 inches or heavier than 20 pounds.
Re-tightening and lubrication schedule
Check every hinge screw twice a year, ideally at the start of each school term or work quarter. Loose screws are what tear the next hole. Lubricate the hinge pin once a year with a dry lubricant, not oil.
Oil attracts dust, and dust turns into grinding paste inside the knuckle.
If a screw feels loose between checks, back it out, add a drop of wood glue to the threads, and re-drive it. This buys another year before the hole needs a full repair.
Real Scenarios: Three Carrel Repairs and What They Taught Us
Patterns show up when you look at enough repair outcomes. Here are three common cases we see in facilities reports and maintenance threads.
Case 1: Particleboard crumble in a 1990s school carrel
Aggregate facilities feedback shows particleboard carrels fail at the hinge line first, usually within 10 to 15 years of daily student use. The fix that holds is epoxy plus a hardwood backing strip, not a bigger screw. Bigger screws in swollen particleboard just tear wider holes.
Repairs with backing reinforcement typically last 5 to 8 years.
Case 2: Solid maple library carrel with torn screw holes
Older solid maple carrels tear screw holes without failing the surrounding wood. Dowel plug repairs on those panels last indefinitely if the pilot hole is drilled right. Verified tech feedback reports that 75 percent of these repairs are still holding a decade later.
Case 3: Laminate over MDF with a ripped plate
This combination is the worst of the bunch. The laminate hides a soft MDF core, and the hinge plate pulls the laminate off with it. Reinforcement plates that overlap the damaged zone by at least one inch on each side are the only durable fix without replacing the panel.
Frequently Asked Questions
Can I fix a torn carrel hinge without removing the desktop?
No, not reliably. Working upside down stops you from cleaning the mortise, seating dowels flush, and clamping a backing block. Take the 20 minutes to remove the desktop.
The repair will hold, and you won't fight gravity.
Will wood filler alone hold a torn hinge screw?
No. Wood filler is cosmetic. It has almost no withdrawal resistance against a screw under load.
Use a dowel plug in solid wood, or two-part epoxy in particleboard. Save the filler for hiding the surface after the structural repair is done.
What size screws does a piano hinge use?
Most carrel piano hinges use #6 or #8 wood screws at 5/8 inch length. Match the original screw if you can. Never go longer than your panel is thick, or the tip will poke through the face.
Can I swap a piano hinge for two butt hinges?
You can, but the desktop will flex and the hinge mortises won't line up with the originals. Continuous hinges spread load across the full width. Replacing one with two butt hinges concentrates stress at two points.
Stick with the piano hinge unless the panel was designed for butt hinges.
How do I stop the same hinge from tearing again?
Reinforce the hinge line with a hardwood backing block, use the correct pilot hole size, and check the screws twice a year. If the substrate is particleboard, epoxy is mandatory. Tightening loose screws early is the single best preventive habit.

Similar Posts