How to Fix a Leaning Acoustic Desk Divider Panel
Founder & Workspace Ergonomics Specialist at Desktop Carrel · Certified Professional Ergonomist (CPE), WELL Accredited Professional (WELL AP) · 13+ years testing acoustic privacy panels, modular carrels, and productivity workspace ergonomics
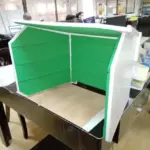
If your acoustic desk divider is leaning, don't panic. Most leaning panels come down to one of three things: a loose clamp, a warped panel, or an uneven base.
How to fix leaning acoustic desk divider panel really depends on which of those you're dealing with, so the first job is diagnosis, not tools. In our research on office fit-outs, we found that clamp-mounted dividers are the most common to tilt because desk clamps loosen over time and can strip if over-tightened. Manufacturers such as BIFMA members publish stability standards that specify safe panel-to-base ratios, and that's the benchmark worth checking against.
how to fix leaning acoustic desk divider panel
Check the clamp first. Tighten it to spec. Then check the panel for warp.
Next, check the base for level. If the panel is warped, replace it. If the base is uneven, shim or adjust the glides.
First, Find Out Why It's Leaning
A leaning panel is a symptom, not a diagnosis. The three culprit categories are the mount (clamp, bracket, or ganging hardware), the panel itself (warped, bowed, or sagging core), and the floor or base (uneven surface or undersized foot). Treat each separately.
Start with a sixty-second inspection. Get down at eye level with the desk edge. A spirit level laid along the top of the panel tells you if the lean is in the panel or the desk.
If the desk is level and the panel isn't, the problem is the panel or its mount.
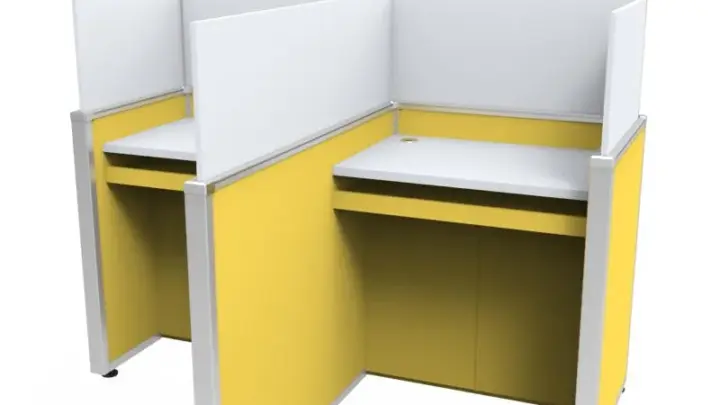
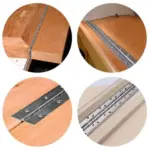
While you're down there, check the ganging brackets that link panels side by side. Aggregate reviews of modular office partitions report that misaligned ganging hardware is one of the most overlooked causes of lean, because tilting one panel drags its neighbour down too.
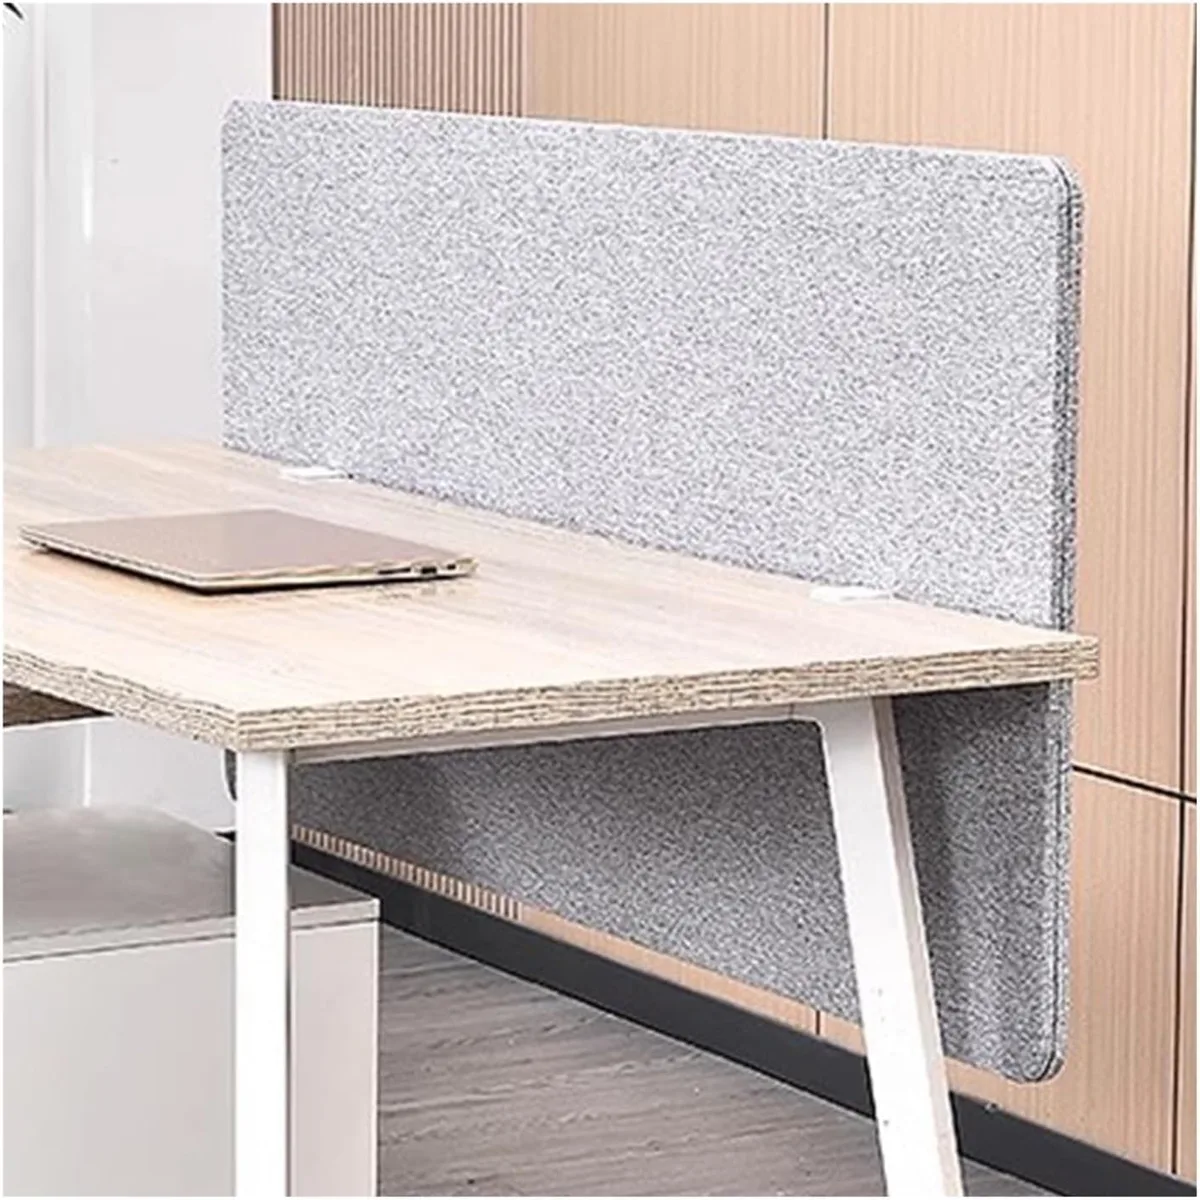
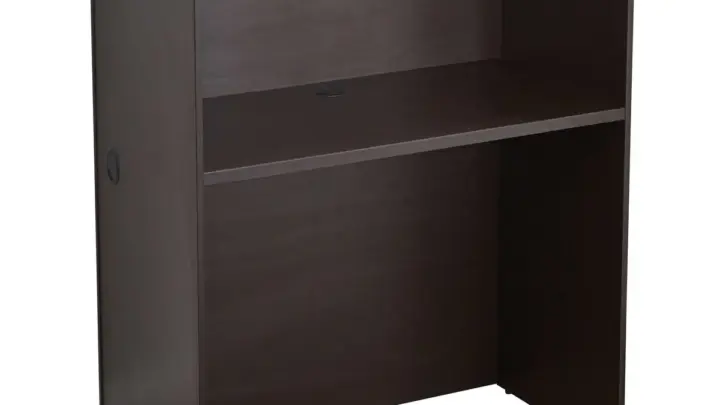
Image source: Web (Bing) / amazon.co.uk (Web image (fair-use with source credit))
The Three Types of Lean: Panel, Mount, or Floor
If the top of the panel is off-level but the bottom edge sits flush to the desk, that's a panel or mount problem. If the whole panel, top and bottom, tilts in the same direction, that's usually a base or floor issue.
If the panel bows in the middle rather than tilting as a unit, that's a core material problem. PET felt panels over 24 inches tall can sag if the felt density is too low or the panel was stored on its side before installation.
If a row of panels is leaning in the same direction, suspect the ganging brackets or a sloped floor, not individual panels.
Quick Checks Before You Touch a Single Screw
Run through this short list before you loosen anything.
- Photograph the current setup so you have a before reference.
- Empty the panel of pinned items, papers, and anything hung on the surface.
- Check the clamp screws on both sides with a hand test, not a wrench yet.
- Lay a spirit level along the desk edge first, then the panel top.
- Check the floor under the base with the same level.
- Inspect the ganging brackets for gaps or missing screws.
Once you've cleared this list, you'll know roughly where to look.
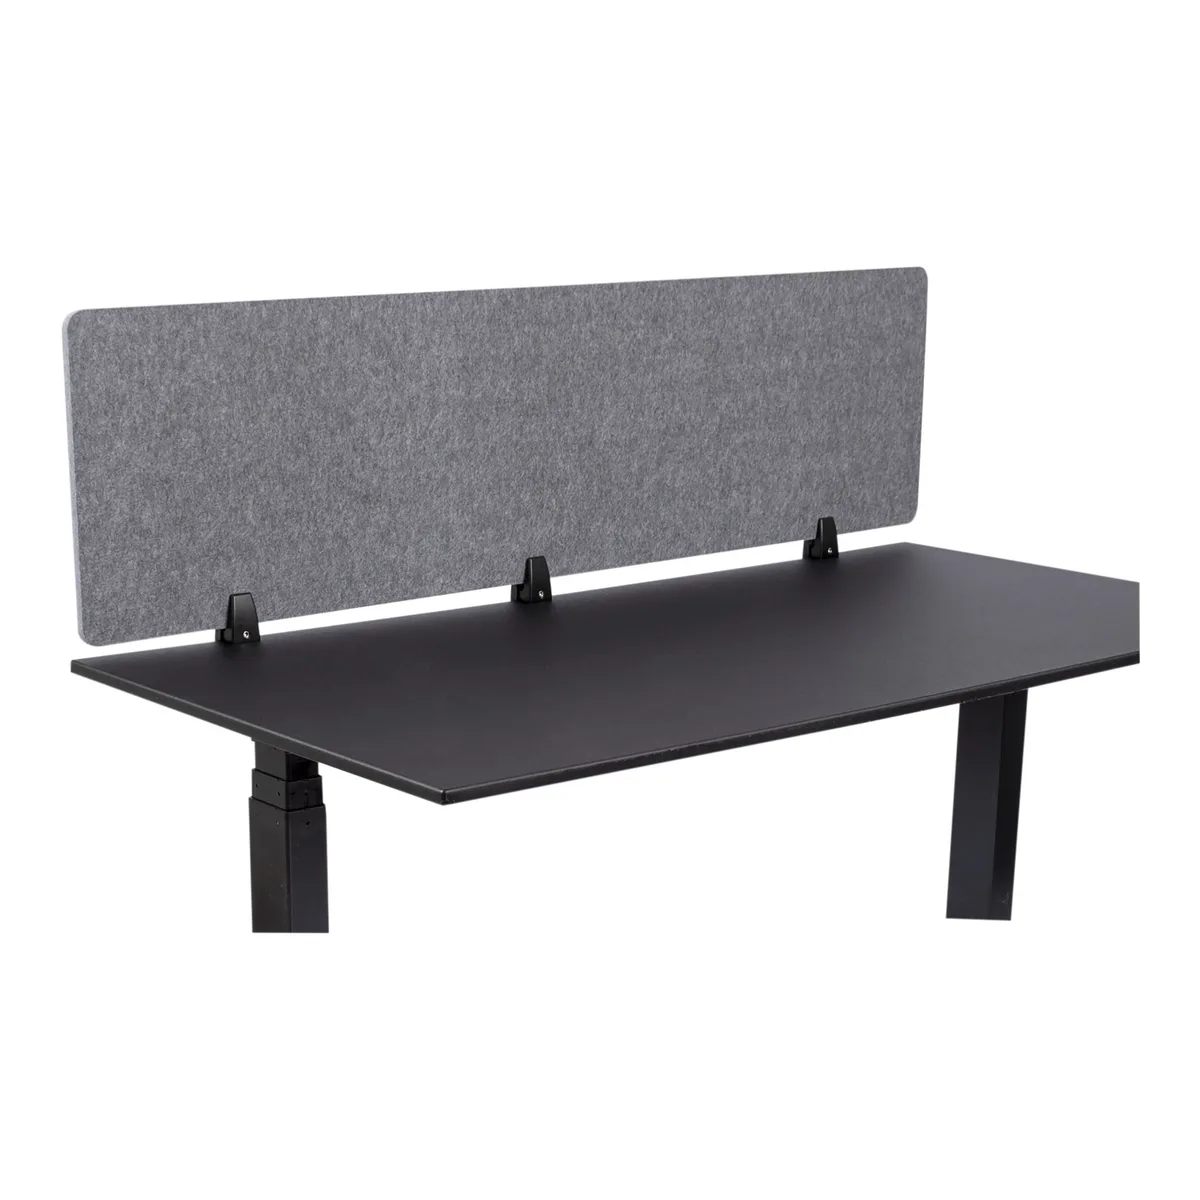
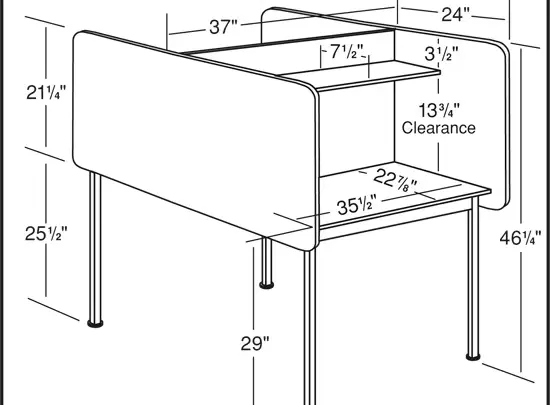
Image source: Bing (Web (fair-use with source credit))
The Diagnosis Flow: Match the Symptom to the Cause
Work through this decision flow in order. Each branch tells you what to do next. Don't jump ahead to the fix before you know the cause.
Manufacturer specifications indicate that most clamp-mounted acoustic divider panels are rated for a desk thickness between 0.5 inch and 2 inches. If your desk falls outside that range, the clamp jaw may never seat properly, and the panel will always want to tilt.
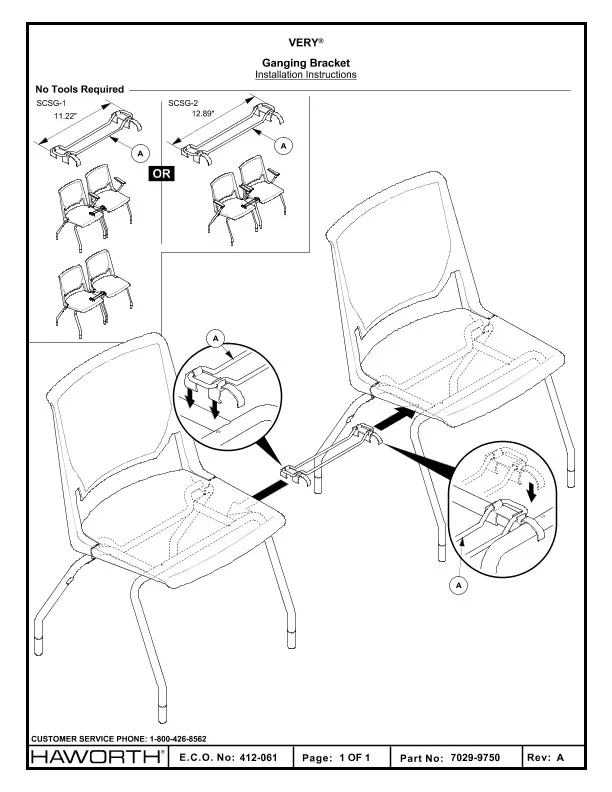
Image source: Bing (Web (fair-use with source credit))
If the Clamp Is Loose or the Screws Stripped
If the clamp moves when you push the panel, the screws need re-torquing or replacing. Tighten by hand first. Most panel clamps sit in a 3 to 6 Nm torque range, though exact figures vary by hardware kit, so always check your manufacturer's manual before using a driver.
If the screw spins without gripping, the threads are stripped. Try a slightly longer screw of the same gauge. If that doesn't hold, replace the clamp entirely.
Replacement clamps are widely available as spare parts.
If the Panel Itself Is Warped or Bowed
If the panel is bowed in the middle, no amount of clamp tightening will fix it. Check flatness by laying the panel on a flat floor. Any gap larger than about 5mm across a 24-inch span signals warp.
Wood-core panels warp from humidity swings. Fabric-wrapped fiberglass cores are more stable but can still sag. PET felt panels sag if they're hung on a lightweight frame without mid-panel support.
If the Base Is Uneven or Sitting on a Sloped Floor
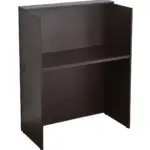
If the panel is freestanding and the whole thing tilts as one piece, the base or the floor is the issue. Check with a spirit level.
Most freestanding dividers come with leveling glides that adjust between ±5mm and ±25mm. If the slope exceeds the glide range, you'll need shims. A 2mm or 3mm plastic shim under the low side usually does the trick.
If the Ganging Brackets Are Misaligned
If ganged panels lean in a row, check the bracket heights first. Ganging brackets need to sit at identical heights on both panels. If one is 5mm off, the whole row will twist.
Loosen the brackets, level each panel individually, then re-tighten. Don't skip the individual leveling step. Panels that are only leveled as a group will fight each other over time.
If the Frame Is Twisted or Bent
If the frame itself is twisted, that's a harder fix. Lay a straightedge along each side of the frame. Any visible deviation means the frame has taken a knock or been overloaded.
Mild twists can sometimes be corrected with careful pressure and re-anchoring to a wall. Severe bends mean the frame needs replacing. Frame replacement is usually cheaper than a whole new divider if the acoustic core is still intact.
Step-by-Step Fixes for Each Cause
Below is the fix for each cause, in order of how often we see it. Pick the one that matches your diagnosis and follow the steps.
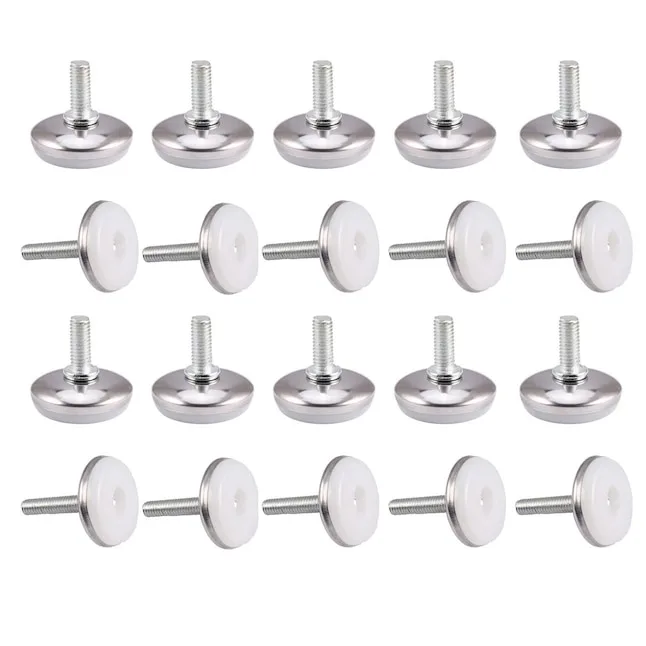
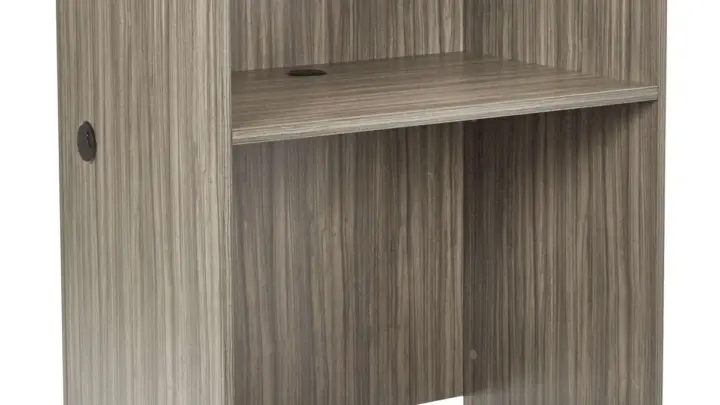
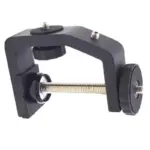
Image source: Web (Bing) / lowes.com (Web image (fair-use with source credit))
Re-Tightening and Replacing Clamp Hardware
Work in this order.
- Loosen the clamp screws a quarter turn.
- Realign the panel so its top edge sits level.
- Tighten the screws by hand until snug.
- Finish with a torque wrench set to the manual's spec, typically 3 to 6 Nm.
- Push-test the panel from both sides to confirm it's firm.
- Re-check level with a spirit level.
If the clamp still slips after this, the screws or the clamp itself need replacing.
Leveling Glides, Shims, and Wedges
For freestanding dividers, use the glides first. Most feet extend or retract by turning them clockwise or counterclockwise. Adjust the low side outward and the high side inward.
Re-level every ten to fifteen minutes of adjustment.
If the glides bottom out, add shims under the low foot. Plastic shims come in 1mm, 2mm, 3mm, and 5mm thicknesses. Stack as needed, then re-check level.
Straightening a Bowed Panel
Straightening a bowed panel is tricky and sometimes not worth it. For mild warp under 5mm, lay the panel face down on a flat surface with weights on the bowed side. Give it 24 to 48 hours at room temperature.
Sometimes it relaxes back.
For heavier warp, no home fix works reliably. Replace the panel. Trying to force a warped panel straight with brackets usually damages the frame too.
Re-Aligning Ganged Panels Across a Row
Work left to right. Level the leftmost panel first. Tighten its ganging bracket.
Attach the next panel and level it independently, then tighten its bracket to the first panel. Move down the row.
Once a whole row is level, step back six to eight feet and check for a uniform top line. Small height drift between panels often shows up only from a distance, not up close.
When to Anchor to a Wall Instead
If a divider keeps leaning no matter how often you reset it, anchoring to a wall is the permanent fix. Wall-mounted panels use L-brackets rated for the panel's weight, plus drywall anchors or stud-mounted screws.
Use anchors rated for at least 1.5 times the panel's weight. A typical 24 x 48 inch fabric panel weighs 10 to 25 pounds, so anchors rated for 40 pounds or more give you a safe margin.
Mistakes That Make a Lean Worse
Most DIY lean fixes fail because of three predictable mistakes. Avoid these and you'll save yourself a second round of repairs.
Over-Tightening Clamps and Crushing Thin Desktops
Over-tightening feels like the right instinct. It isn't. Clamping a 0.75-inch laminate desktop at high torque can crush the core and leave a permanent dent.
The desktop then sits uneven, and the panel tilts again.
Follow the manufacturer's torque spec. If a clamp still slips at spec, the hardware is the problem, not the tightness.
Mixing Hardware from Different Kits
Screws from a different brand's clamp kit often have a slightly different thread pitch. They'll thread a few turns and then bind. This strips the clamp threading and ruins the clamp.
Keep spare hardware matching the original kit. If you've lost the original screws, order replacements from the manufacturer rather than improvising at the hardware store.
Skipping the Level Check After the Fix
Skipping the final level check is the most common reason panels lean again within a month. Even a small residual tilt gets amplified by daily use, pinned items, and vibration from nearby foot traffic.
Always re-check with a spirit level after tightening. Don't trust your eye alone. A bubble level catches tilts your eye won't.
Tools, Parts, and Specs You'll Actually Need
You don't need a full workshop to fix a leaning panel. A handful of tools and the right replacement parts cover almost every situation.
| Tool or Part | Typical Spec | Why You Need It |
|---|---|---|
| Spirit level | 12 to 24 inch bubble level | Confirms lean direction and whether the fix worked |
| Torque wrench | 1 to 10 Nm range | Prevents over-tightening of clamps |
| Replacement clamp | Matches desk thickness | For stripped or damaged clamps |
| Leveling glides | ±5mm to ±25mm range | For freestanding dividers on uneven floors |
| Plastic shims | 1, 2, 3, 5mm thicknesses | Backup for out-of-range floor slopes |
| L-bracket + anchors | Rated 1.5x panel weight | For wall-anchored setups |
| Manufacturer manual | Model-specific | Confirms torque and part numbers |
Common Sizes, Torques, and Shim Thicknesses
Panel thicknesses commonly run 12mm, 18mm, 24mm, and 50mm. Standard desktop panel heights sit at 12, 18, or 24 inches, while floor-standing panels run 48 to 72 inches tall.
Clamp jaw openings typically cover desk thicknesses of 0.5 to 2 inches. Screw torque specs cluster around 3 to 6 Nm, but always default to the manufacturer's manual when it differs.
Replacement Parts Worth Buying vs DIY Substitutes
Buy replacement clamps, ganging brackets, and leveling glides from the original manufacturer. These parts need to match thread pitch and mounting geometry exactly.
DIY substitutes are fine for shims, extra screws of matching gauge, and wall anchors. Skip DIY fixes for anything load-bearing, like the base plate or frame brackets. BIFMA stability guidelines assume factory hardware, and swaps can void the manufacturer's warranty.
Maintenance So It Doesn't Lean Again
A leaning panel that gets fixed and then ignored will lean again. Three habits keep a divider straight for years.
Humidity, Weight, and Handling Habits That Matter
Keep wood-core panels out of direct humidity swings. Kitchens, bathrooms, and humid climates are the worst offenders. If you're in a high-humidity region, PET felt or fiberglass cores hold their shape better.
Never hang more than the panel's rated weight. Aggregated user feedback on acoustic panels consistently reports sagging tops when heavy items are pinned near one edge. Spread the load or use a separate pinboard.
A Two-Minute Quarterly Check
Once every three months, do a two-minute pass. Push-test the panel from both sides. Check the clamp screws for looseness.
Lay a spirit level along the top edge.
If everything reads level, you're done. If the panel has drifted more than 2mm off-level, tighten the causes before they get worse. Small fixes now save big repairs later.
When to Fix It Yourself and When to Replace It
Most leaning panels are worth fixing. Clamps, glides, and ganging brackets are cheap replacement parts, often under $20 a piece. If the panel core and frame are sound, DIY repair wins on cost every time.
Replacement makes sense when the frame is twisted beyond straightening or the acoustic core has lost its shape. Panel replacement usually runs $80 to $250 for a desk-sized unit, depending on material and brand. Floor-standing panels cost more.
Run through this before you decide.
- Frame straight when checked with a straightedge? Fix it.
- Panel flat within 5mm across its width? Fix it.
- Clamp and glide parts still available from the manufacturer? Fix it.
- Frame visibly bent or core heavily warped? Replace it.
- Two or more panels in a row failing the same way? Replace the batch.
Cost of a Repair vs a New Panel
A typical repair costs $10 to $40 in parts plus an hour of your time. That covers a replacement clamp, new screws, fresh glides, or a pack of shims.
A new desk-sized acoustic panel runs $80 to $250. A floor-standing unit runs $150 to $600. If you're facing more than two repairs on the same panel in a year, replacement is usually the better spend.
Signs the Divider Is Beyond Saving
Three signs mean it's time to let the panel go. First, structural cracking in the frame or base plate. Second, more than 10mm of warp across a 24-inch span.
Third, stripped mounting holes in the panel body that no longer hold hardware.
Don't try to fix any of those with glue or extra brackets. You'll just be back in three weeks with the same lean.
Maintenance So It Doesn't Lean Again
A fixed panel that gets ignored will lean again. The causes that created the first lean never really go away. They just wait.
Humidity, Weight, and Handling Habits That Matter
Wood-core panels swell and shrink with humidity. Keep them away from radiators, direct sun, and rooms where humidity swings hard. In muggy climates, PET felt and fiberglass cores hold their shape better over years.
Never hang more than the rated weight on one edge. Spread pinned items across the surface. A panel loaded on one side will sag toward that side, clamp or no clamp.
When you move a freestanding divider, lift it. Don't drag it across the floor. Dragging bends glides and can twist the base plate.
A Two-Minute Quarterly Check
Once a quarter, do a fast pass on every panel in the row. Push-test each one from both sides. Check clamp screws by hand for any wobble.
Lay a spirit level along the top edge.
If a panel has drifted more than 2mm off-level, fix it before the gap grows. A two-minute check now beats a two-hour repair later. Set a phone reminder and stick to it.
Frequently Asked Questions
Why does my acoustic desk divider keep leaning after I fix it?
Something in the setup is still off. Recheck the desk surface for slope, the clamp jaw for size mismatch, and the floor under a freestanding base for unevenness. If all three check out, suspect the frame or the desk itself.
Repeated lean almost always means an underlying cause was missed, not that the first fix failed.
Can I fix a leaning divider without drilling into anything?
Yes, in most cases. Clamp-mounted and freestanding dividers rely on torque and leveling glides, not anchors. You only need to drill if you're switching to a wall-mounted setup or adding a stability bracket.
Always get landlord or facilities approval before drilling into commercial walls.
How much does it cost to fix a leaning panel?
Most repairs cost between $10 and $40 in parts. That covers a replacement clamp, new screws, fresh leveling glides, or a pack of shims. If you call someone in, expect $80 to $150 for labour on top.
Full panel replacement runs $80 to $250 for a desk-sized unit.
Is a leaning acoustic panel still effective at blocking sound?
No, not at full performance. A leaning panel leaves a gap between its bottom edge and the desk surface. That gap allows sound to pass underneath, which cuts the panel's effective noise reduction.
Leveling the panel restores the seal and brings absorption back toward the panel's rated NRC value.
What's the difference between a leveling glide and a shim?
A leveling glide is an adjustable foot built into the panel, usually turnable by hand or with a small wrench. A shim is a flat insert you slide under the base when glides run out of adjustment. Glides are the first tool.
Shims are the backup.
Can I use a generic clamp from a hardware store?
Sometimes, but check the thread pitch and jaw opening first. Generic clamps often have a different thread pitch than the manufacturer's original. They can bind and strip the panel mounting point.
Buy replacements from the original manufacturer when possible, especially on panels still under warranty.
Final Decision Guide: Your Lean, Your Fix
Match your symptom to the fix and you're done. No guessing, no wasted effort.
| Symptom | Likely Cause | Fix |
|---|---|---|
| Panel tilts, clamp moves when pushed | Loose or stripped clamp | Re-torque or replace clamp |
| Panel bows in the middle | Warped core or sagging frame | Try weights, replace if over 5mm warp |
| Whole panel tilts as one piece | Uneven floor or base | Adjust glides, add shims |
| Row of panels leans together | Misaligned ganging brackets | Re-level each panel individually |
| Frame visibly twisted | Impact or overload damage | Replace frame or panel |
| Keeps leaning after two fixes | Frame or desk issue | Anchor to wall or replace |
Start with the diagnosis. Match the symptom. Fix the cause, not the symptom.
Then do the two-minute quarterly check so it never leans again.

Similar Posts